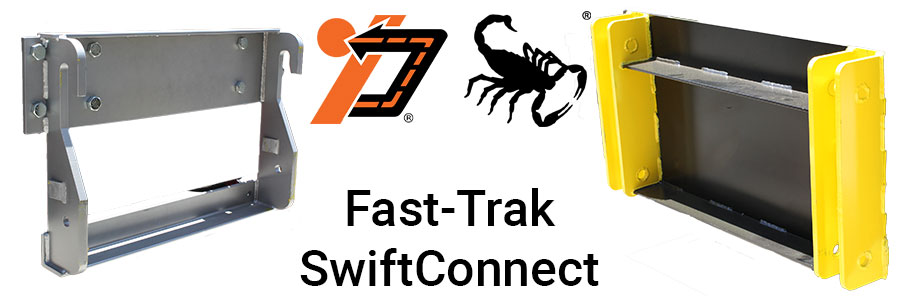
We know that many contractors don’t need a TMA on every vehicle in their fleet. We also know that many customers would like to move a TMA from this truck to that truck. Fleet maintenance would also dictate the necessity for Scorpion TMA’s to be easily and somewhat regularly removed or swapped between certain vehicles. The ability to have a vehicle undergo maintenance/repair while allowing the TMA to remain in service is often critical to the business operations of our clients.
TrafFix Devices developed the Fast-Trak for the Scorpion TMA & Scorpion II TMA to solve exactly this issue, ensuring our clients can maintain a Scorpion in-service more often. The ability to remove and replace the Scorpion TMA ensures that a truck can be multi-purpose and maintain its original intended use or that other trucks can carry the TMA when some are being serviced. Moreover, the Fast-Trak enables arrow and message board installations to work as an easily removable truck frame extension to clear anything hanging off the back of the truck.
The Low Profile version of Fast-Trak can also accommodate low hanging equipment such as salt spreaders. In just a couple minutes the TMA can be disconnected so the truck can serve its original purpose with no issues. Identical Fast-Traks can be set up on multiple trucks to use the same TMA.
Setting up your Fast-Trak
The Fast-Trak SwiftConnect allows the Scorpion II TMA to connect in as little as 1 minute.
- Back up truck to Fast-Trak SwiftConnect
- Align mounting hooks over connection bars
- Lower into place
- Plug in electrical components
- Insert lock pins
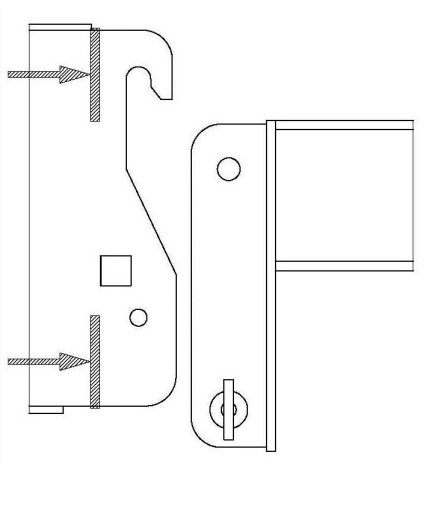
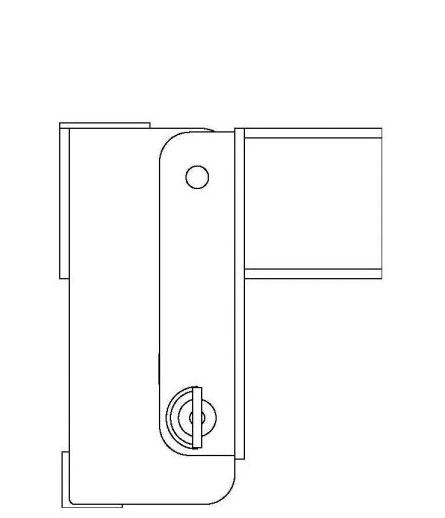
Be sure that the Hook on the TMA side is above the Pin on the Truck Side. Adjust accordingly if necessary. With the securing Pins and Clips removed from the Truck side, push the TMA up to the Truck Mount.

Using the Swivel Jacks, lower the TMA until the hook is fully engaged on the top Pin of the Truck Mount.
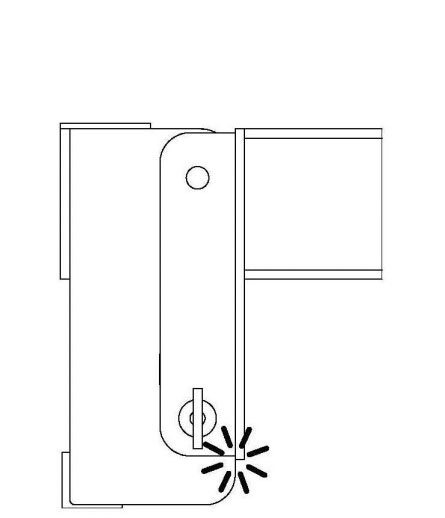
Momentarily push the “Up” button on the 2-Button Controller until the bottom of the TMA Side is against the bottom of the Truck Side.
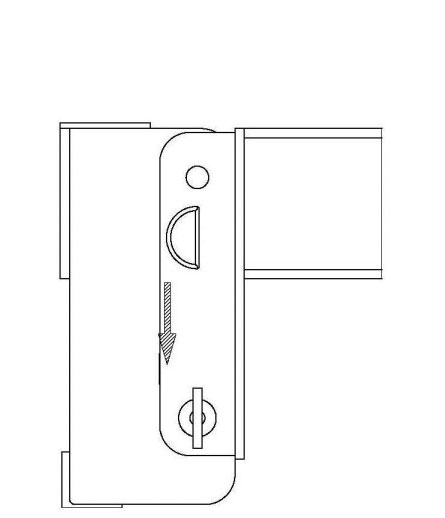
Once the TMA is fully loaded on the Truck Mount top Pin, store away the Swivel Jacks and secure the TMA with the Pins and Clips.
Now that the TMA is fully secured on the Truck, use the controls to lift the TMA high enough to store the Drop Jacks. Once these Jacks are stored, the TMA is ready for the road.
As always more information can be found on our Knowledge Base under the Scorpion II® TMA Truck Mounted Attenuator Assembly and Mounting Manual.